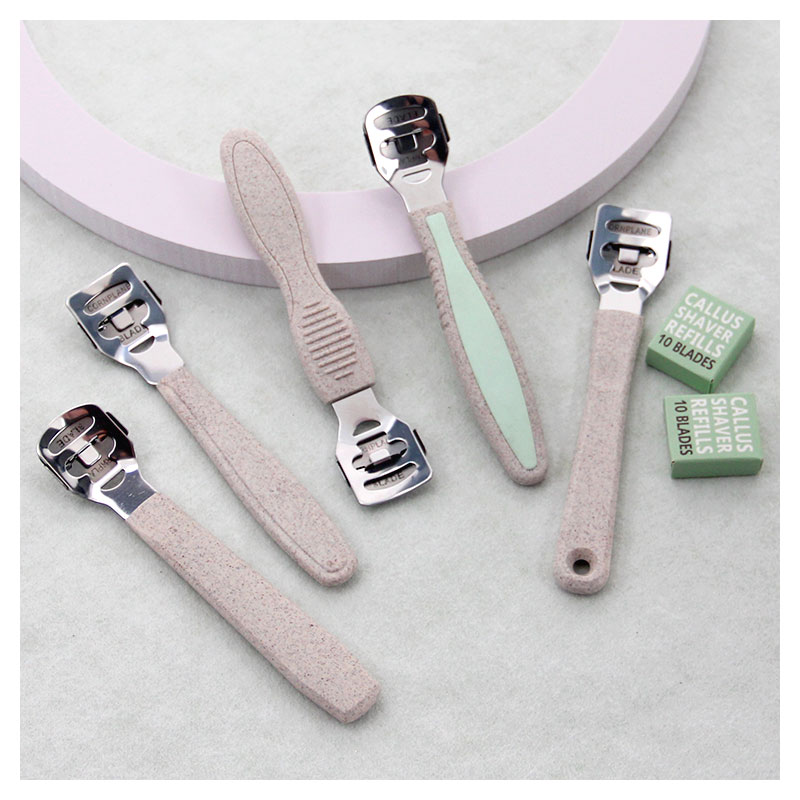
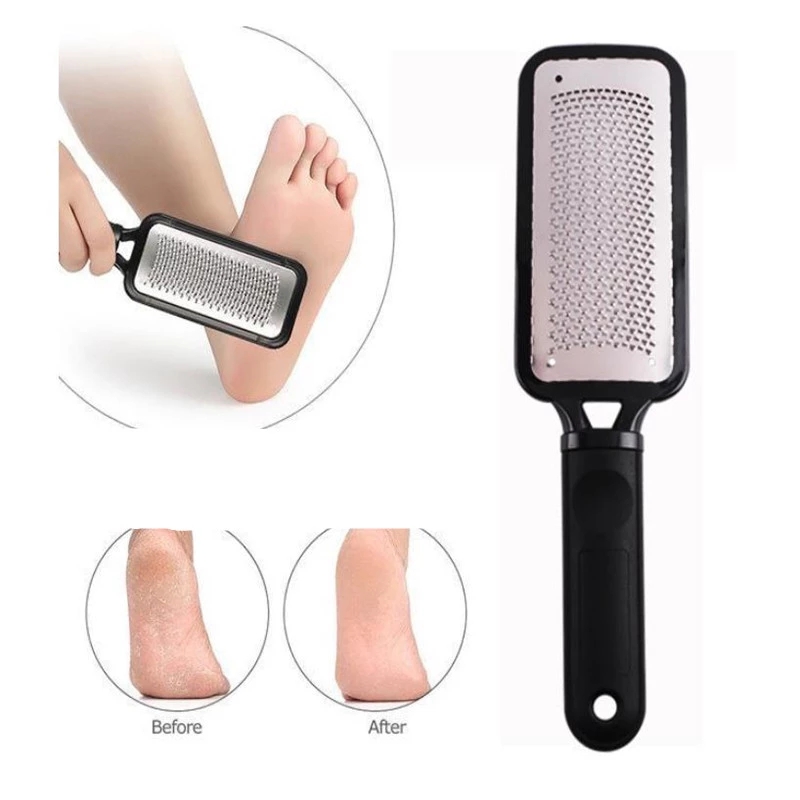
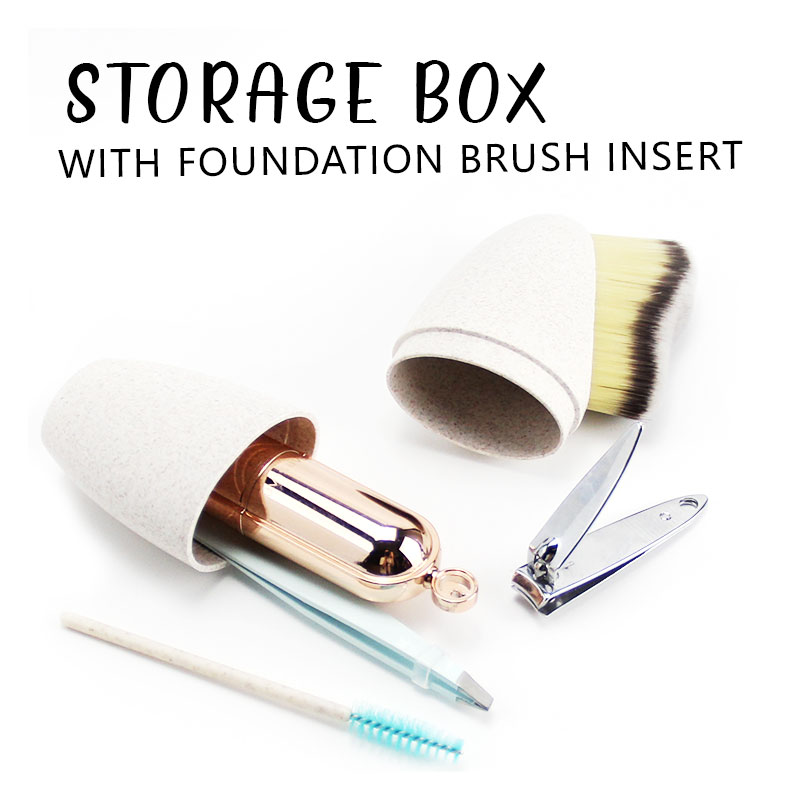
To keep your nails looking neat and polished, a pair of nail clippers is a must-have in any nail tools set. These clippers come in various sizes and shapes, suitable for both fingernails and toenails. They are perfect for trimming and shaping your nails, and with regular use, can help prevent ingrown toenails and maintain healthy nails.
For a more professional and precise nail care routine, a cuticle nipper is a valuable tool. These small, sharp scissors are designed specifically for trimming cuticles and hangnails. They give a clean and precise cut and are perfect for both removing excess cuticles and cleaning up any stray bits of skin around the nail bed.
No nail care routine is complete without a quality nail buffer. These tools are used to smooth out any ridges and imperfections on the nail surface, leaving a smooth and shiny finish. Nail buffers usually come in multi-sided blocks, with each side performing a different function, including shaping, smoothing, and shining the nail surface.
Lastly, a good pair of tweezers is a versatile tool that can come in handy during any nail care routine. They can be used to carefully pick up and apply nail art decorations and help with precise placement. Tweezers can also be used to remove any stray pieces of cotton or dust that may be left over after cleaning up the nails.

Introducing our carefully crafted nail tools – the perfect addition to your at-home manicure kit. Our collection includes everything you need to achieve professional-looking nails in the comfort of your own home. From top-quality nail clippers, cuticle pushers, and files, to innovative nail art tools and brushes, our range has got you covered. Whether you’re a beginner or a seasoned pro, our tools are designed to make your nail care routine easier and more efficient. So why wait for your next salon appointment? Elevate your home nail game with our premium nail tools today!
Are you tired of breaking or losing your nail tools? Look no further! Our collection of nail tools has everything you need for beautiful and healthy nails. From sturdy and durable nail clippers to precision cuticle scissors and filing tools, our range of nail tools is sure to meet all your nail care needs. Made with high-quality materials, each tool is designed to provide you with professional results. So why settle for mediocre tools when you can have the best? Treat your nails to the care they deserve with our selection of top-notch nail tools.

Welcome to explore our range of premium nail tools! We are proud to offer a comprehensive collection of high-quality nail tools that cater to the needs of both professional nail technicians and at-home enthusiasts. Our carefully curated selection includes everything from cuticle pushers and nail clippers to nail buffers and files, all designed to help you achieve the perfect manicure or pedicure. Crafted from durable materials and featuring precision engineering, our nail tools are not only functional but also stylish. With our products, you can confidently create beautiful and flawless nails at home or in the salon. So why settle for mediocre tools when you can elevate your nail game with our exceptional range of nail tools? Browse through our selection and get ready to transform your nail routine!
1.What are the different types of nail clippers and their uses?
2.What are the steps for a safe and effective acrylic nail removal using nail tools?
3.Can nail tools be sharpened or refurbished?
4.What is the purpose of a nail tip cutter and how to use it?
5.Can using nail tools cause an infection or allergic reaction?
6.Can nail tools be used to remove gel or acrylic nails?
7.How to clean and maintain a gel polish brush?
1.What are the different types of nail clippers and their uses?
1. Standard Nail Clippers: These are the most common type of nail clippers and are used for trimming fingernails and toenails. They have a curved cutting edge and a lever mechanism for easy cutting.
- Toenail Clippers: These clippers have a larger size and a straight cutting edge, making them ideal for trimming thicker and tougher toenails.
- Baby Nail Clippers: These clippers are designed specifically for trimming the delicate nails of babies and infants. They have a smaller size and a rounded cutting edge for safety.
- Nail Scissors: These are small scissors with curved blades that are used for precise trimming of fingernails and toenails. They are often used for shaping and trimming cuticles as well.
- Electric Nail Clippers: These clippers use a motorized mechanism to trim nails, making the process quicker and easier. They are ideal for people with limited hand dexterity or for trimming thick nails.
- Guillotine Nail Clippers: These clippers have a hole where the nail is inserted and a blade that slides down to cut the nail. They are commonly used for trimming pet nails.
- Nail Files: While not technically clippers, nail files are used for shaping and smoothing the edges of nails after trimming. They come in various shapes and textures for different nail types.
- Nail Clippers with Catcher: These clippers have a built-in catcher that collects the nail clippings, making cleanup easier and more hygienic.
- Nail Clippers with Magnifier: These clippers have a magnifying glass attached to help with precision and accuracy while trimming nails.
- Nail Clippers with Light: Similar to the magnifier clippers, these have a built-in light to provide better visibility while trimming nails.
2.What are the steps for a safe and effective acrylic nail removal using nail tools?
1. Gather all necessary tools: You will need a nail file, a cuticle pusher, a bowl of warm water, a towel, and a nail clipper.
File down the top layer of the acrylic nails: Use a nail file to gently file down the top layer of the acrylic nails. This will help to break the seal and make it easier to remove the nails.
Soak your nails in warm water: Fill a bowl with warm water and soak your nails for 10-15 minutes. This will help to soften the acrylic and make it easier to remove.
Use a cuticle pusher to gently push back the cuticles: This will help to loosen the acrylic and make it easier to remove.
Clip the acrylic nails: Use a nail clipper to carefully clip the acrylic nails as close to your natural nails as possible. Be careful not to clip your natural nails.
Gently pry off the acrylic nails: Use the cuticle pusher to gently pry off the acrylic nails. Start at the base of the nail and work your way up to the tip. Be gentle to avoid damaging your natural nails.
File away any remaining acrylic: Use a nail file to gently file away any remaining acrylic on your natural nails. Be careful not to file too hard or you may damage your natural nails.
Soak your nails again: Soak your nails in warm water for another 5-10 minutes to help remove any remaining acrylic.
Moisturize your nails: After removing the acrylic, your nails may be dry and brittle. Apply a cuticle oil or moisturizer to nourish and hydrate your nails.
Trim and shape your natural nails: Use a nail clipper and file to trim and shape your natural nails to your desired length and shape.
Give your nails a break: It is important to give your nails a break from acrylics to allow them to breathe and recover. Avoid applying any new nail products for at least a week.
Clean and disinfect your tools: After use, clean and disinfect your tools to prevent the spread of bacteria and fungus. You can use rubbing alcohol or a disinfectant spray for this step.
3.Can nail tools be sharpened or refurbished?
Yes, nail tools such as clippers, scissors, and cuticle pushers can be sharpened or refurbished. This can be done by a professional sharpening service or by using a sharpening tool specifically designed for nail tools. It is important to regularly sharpen or refurbish your nail tools to maintain their effectiveness and prevent them from becoming dull or rusty.
4.What is the purpose of a nail tip cutter and how to use it?
A nail tip cutter is a tool used for cutting artificial nail tips to the desired length and shape. It is commonly used in nail salons and for at-home manicures.
The purpose of a nail tip cutter is to create a clean and precise cut on the artificial nail tips, allowing for a professional-looking manicure. It is also used to remove old or damaged nail tips before applying new ones.
To use a nail tip cutter, follow these steps:
- Start by selecting the appropriate size of the nail tip cutter for the nail tip you want to cut.
- Hold the nail tip cutter with your dominant hand and place the artificial nail tip between the blades.
- Gently squeeze the handles of the nail tip cutter to cut through the nail tip. Be careful not to apply too much pressure, as this can cause the nail tip to crack or break.
- Repeat the process for each nail tip, making sure to use a clean and sharp nail tip cutter for each one.
- Once all the nail tips are cut to the desired length and shape, use a nail file to smooth out any rough edges.
- Finish off by applying a top coat to seal and protect the nail tips.
It is important to regularly clean and disinfect your nail tip cutter after each use to prevent the spread of bacteria and maintain its sharpness.
5.Can using nail tools cause an infection or allergic reaction?
Yes, using nail tools can potentially cause an infection or allergic reaction. This can happen if the tools are not properly sanitized or if the person using them has an allergy to certain materials or chemicals used in the tools. It is important to regularly clean and disinfect nail tools and to be aware of any allergies before using them.
6.Can nail tools be used to remove gel or acrylic nails?
Yes, nail tools such as a nail file, cuticle pusher, and nail buffer can be used to remove gel or acrylic nails. However, it is recommended to seek professional help or follow proper instructions to avoid damaging your natural nails.
7.How to clean and maintain a gel polish brush?
1. Remove excess polish: After each use, wipe off any excess polish from the brush using a lint-free wipe or paper towel. This will prevent the polish from drying and hardening on the brush.
- Clean with gel polish remover: Dip the brush in a small amount of gel polish remover and swirl it around to remove any remaining polish. Be gentle and avoid pressing too hard on the bristles to prevent damage.
- Rinse with water: After using the gel polish remover, rinse the brush with warm water to remove any residue. Make sure to thoroughly rinse the bristles to prevent any leftover polish from hardening.
- Dry the brush: Gently pat the brush dry with a paper towel or clean cloth. Avoid rubbing the bristles as this can cause them to fray.
- Shape the bristles: Use your fingers to reshape the bristles while they are still damp. This will help maintain the shape of the brush and prevent it from becoming misshapen.
- Store properly: Store the brush in a clean and dry place, preferably in a brush holder or case. This will protect the bristles from getting damaged or bent.
- Deep clean once a week: To keep your brush in top condition, give it a deep clean once a week. Mix a small amount of mild soap with warm water and swirl the brush in the mixture. Rinse thoroughly and reshape the bristles before drying and storing.
- Replace when necessary: Over time, the bristles of your gel polish brush may become frayed or damaged. If this happens, it’s time to replace the brush with a new one to ensure the best application of your gel polish.
